

This is a quick guide to install and run DeepSeek R1 and other AI Models locally through a web interface, just like Ch4tGPT, completely free. (Beginner-friendly, no coding needed)
Getting Ollama and the AI Model
The first thing we need to do is getting the AI model/models we want to use following these steps:
1. Download Ollama
- Visit the Ollama website: https://ollama.com.
- Download the version for your operating system, in this guide I will be using Windows: https://ollama.com/download.
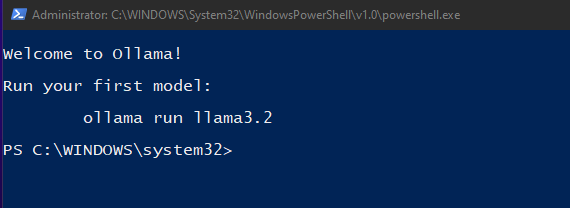
- Open the installer and complete the installation process. A PowerShell window will appear once the process is completed. Note: Do not enter “ollama run llama3.2” unless you really want to install llama3.2, which is a different AI model than DeepSeek R1.
2. Install an AI Model:
- After installing Ollama, you can use PowerShell to download and install AI models. For example, to install DeepSeek R1 (8B), use the following command in PowerShell:
ollama run deepseek-r1:8b
- Wait for the model to download and install. Once completed, you can start interacting with the AI model via PowerShell, but we do not have a web interface like Ch4tGPT yet, this guide explains how to achieve this using Docker and Open WebUI in the following steps.
DeepSeek R1 Models Table
Below is a table to help you choose the right model based on your hardware:
| AI Model Name | Recommended GPU | Speed | Accuracy | Installation Command |
|---|---|---|---|---|
| DeepSeek R1 (1.5B) | Lower-end GPU/PCs | Fast | Low | ollama run deepseek-r1:1.5b |
| DeepSeek R1 (7B) | Medium-high GPUs | Medium | Medium | ollama run deepseek-r1:7b |
| DeepSeek R1 (8B) | Medium-high GPUs | Medium | Medium | ollama run deepseek-r1:8b |
| DeepSeek R1 (14B) | RTX 3080 or similar | Medium | High | ollama run deepseek-r1:14b |
| DeepSeek R1 (32B) | Higher-end GPUs | Slow | High | ollama run deepseek-r1:32b |
| DeepSeek R1 (70B) | Two RTX 4090 GPUs | Slowest | Highest | ollama run deepseek-r1:70b |
Note: Based on my personal tests, DeepSeek R1 (8B) and (14B) provide great performance with a RTX 3080 or similar GPU on Windows 10 x64.
Other AI Models: You can also install additional models using these commands:
- Llama 3.3 (70B):
ollama run llama3.3 - Phi4 (14B):
ollama run phi4
Installing Docker
To create a web interface for the AI model, we’ll use Docker and Open WebUI. Follow these steps:
1. Download and Install Docker
- Visit Docker’s official website: https://www.docker.com/products/docker-desktop.
- Choose the Personal Plan (free).
- Sign up for a personal-use account.
- Download Docker Desktop for Windows: Docker Desktop Setup.
- Run the installer and proceed with the default options. Restart your computer after installation.
2. Start Docker Desktop
-
Open Docker Desktop after restarting your computer.
-
If Ollama does not start automatically, launch it manually:
- Press
Windows Keyboard Key + X→ Select Run PowerShell. - Re-run the installation command for your desired model, e.g.:
ollama run deepseek-r1:8b
- Press
3. Enable Docker Terminal
- In Docker Desktop, click on “>_ Terminal” (bottom right).
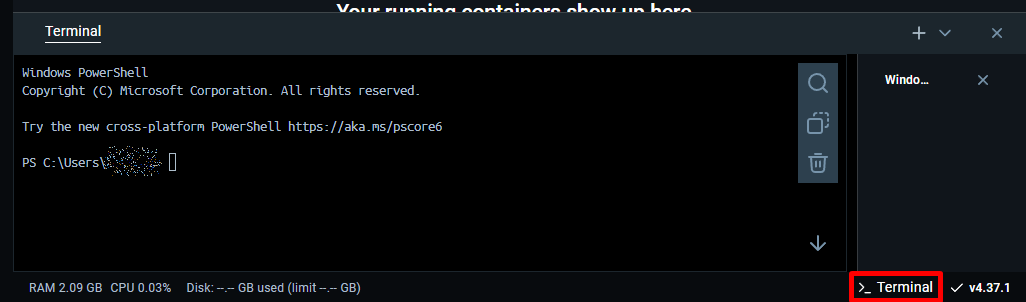
- Click on Enable to access the Docker console.
Getting Open WebUI with Docker
1. Run Open WebUI in Docker
- In the Docker console, enter the following command:
docker run -d -p 3000:8080 --add-host=host.docker.internal:host-gateway -v open-webui:/app/backend/data --name open-webui --restart always ghcr.io/open-webui/open-webui:main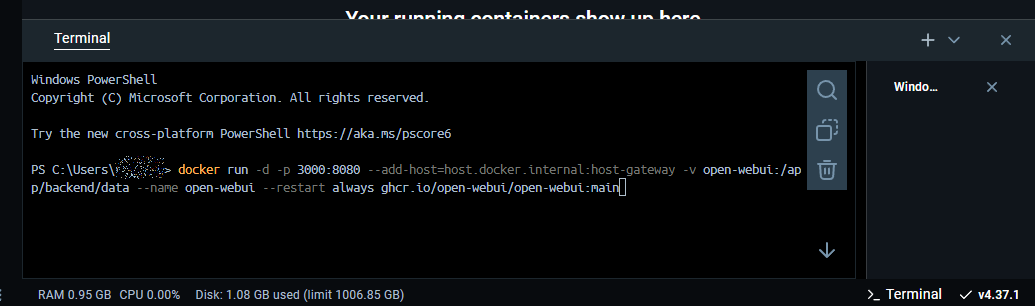
- Wait for the process to complete. This may take some time.
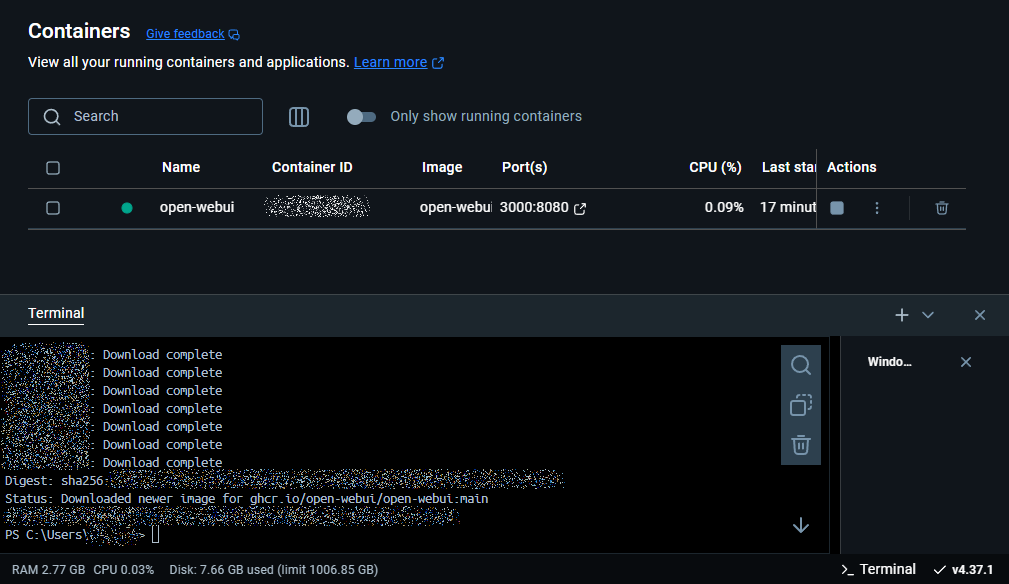
2. Verify the Installation
- Check Docker Desktop to ensure the Open WebUI container is running. It should look like this:
Accessing the AI Model Web Interface Locally
1. Access the local Web Interface
- Open any web browser and go to: http://localhost:3000.

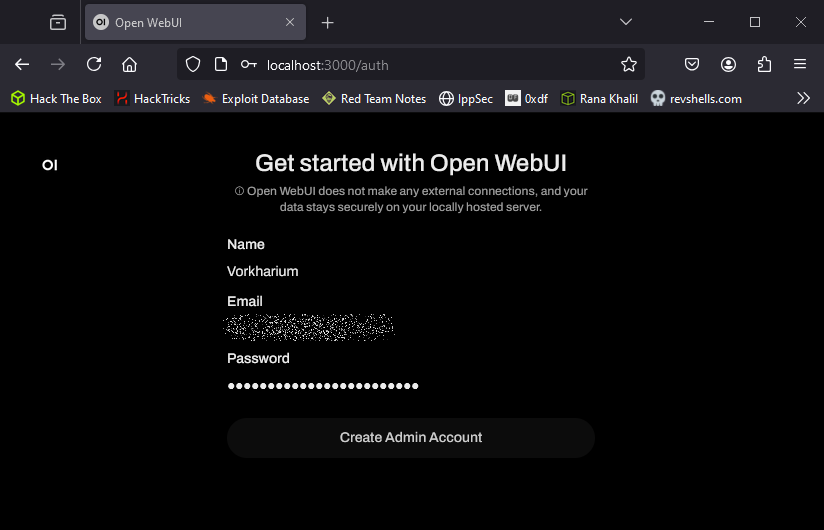
2. Sign Up and Log In
- Click on Get started.
- Create an Admin Account to get access. Note: This is for the WebUI only, your AI model will run locally without internet dependency.
3. Select and Use the AI Model
- In the WebUI (top left corner), select your installed model (For example:
deepseek-r1:8b).
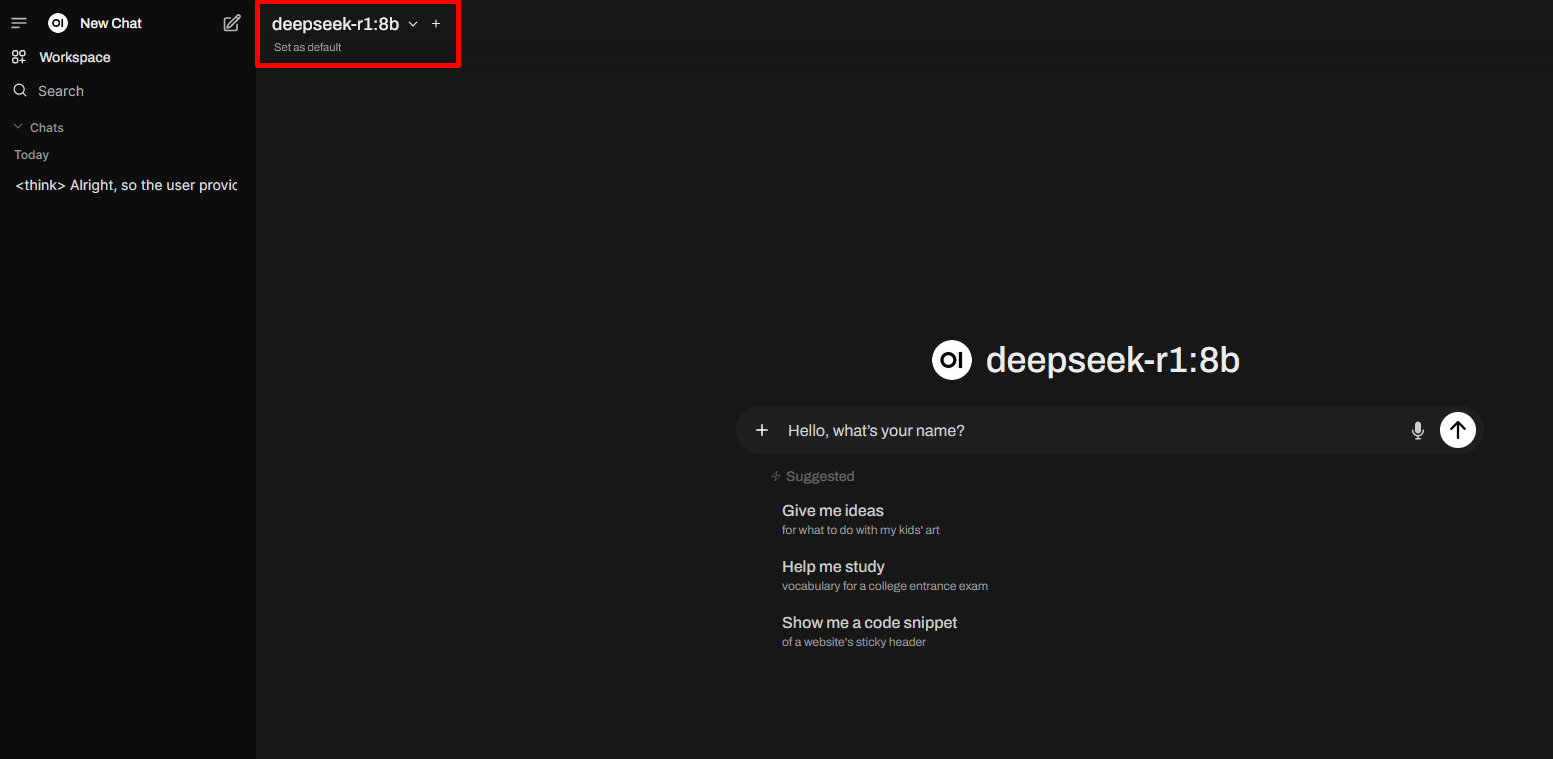
- Start interacting with the model.
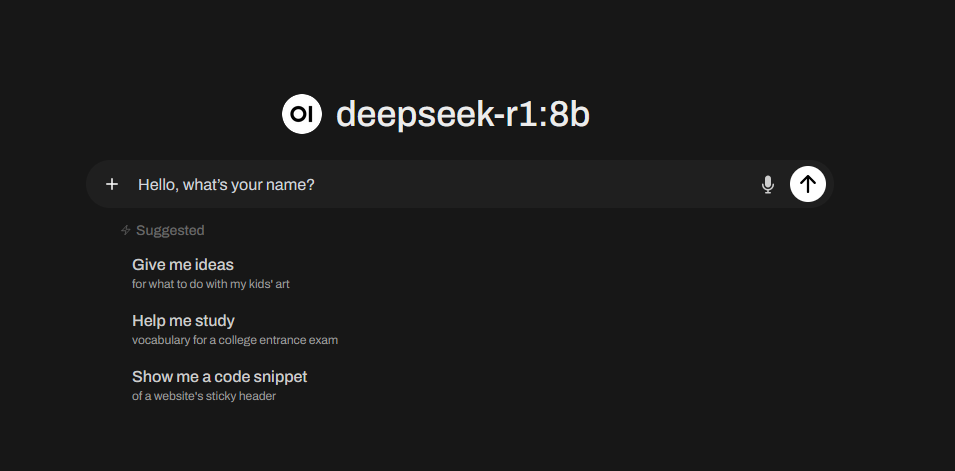
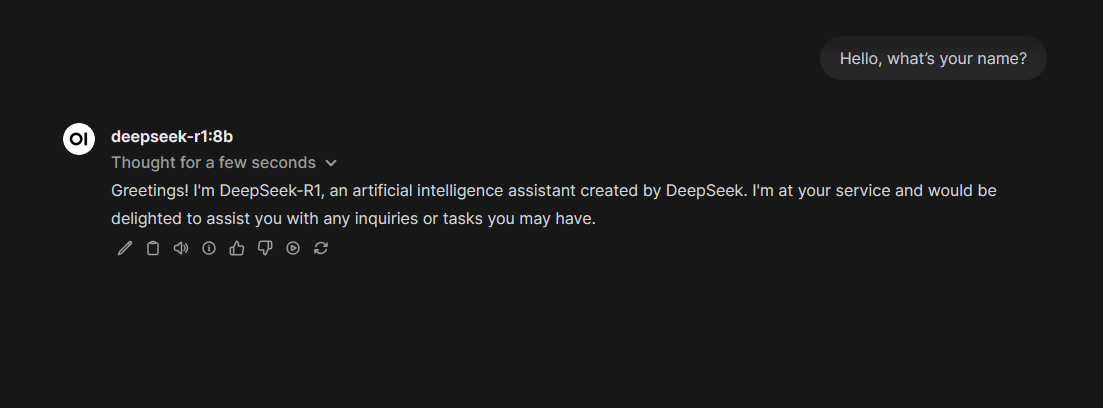
Enjoy your local AI model!
